Games Import
Game and mod settings can be moved between GameAP installations and taken from other control panels. This capability appeared in GameAP 4.1.
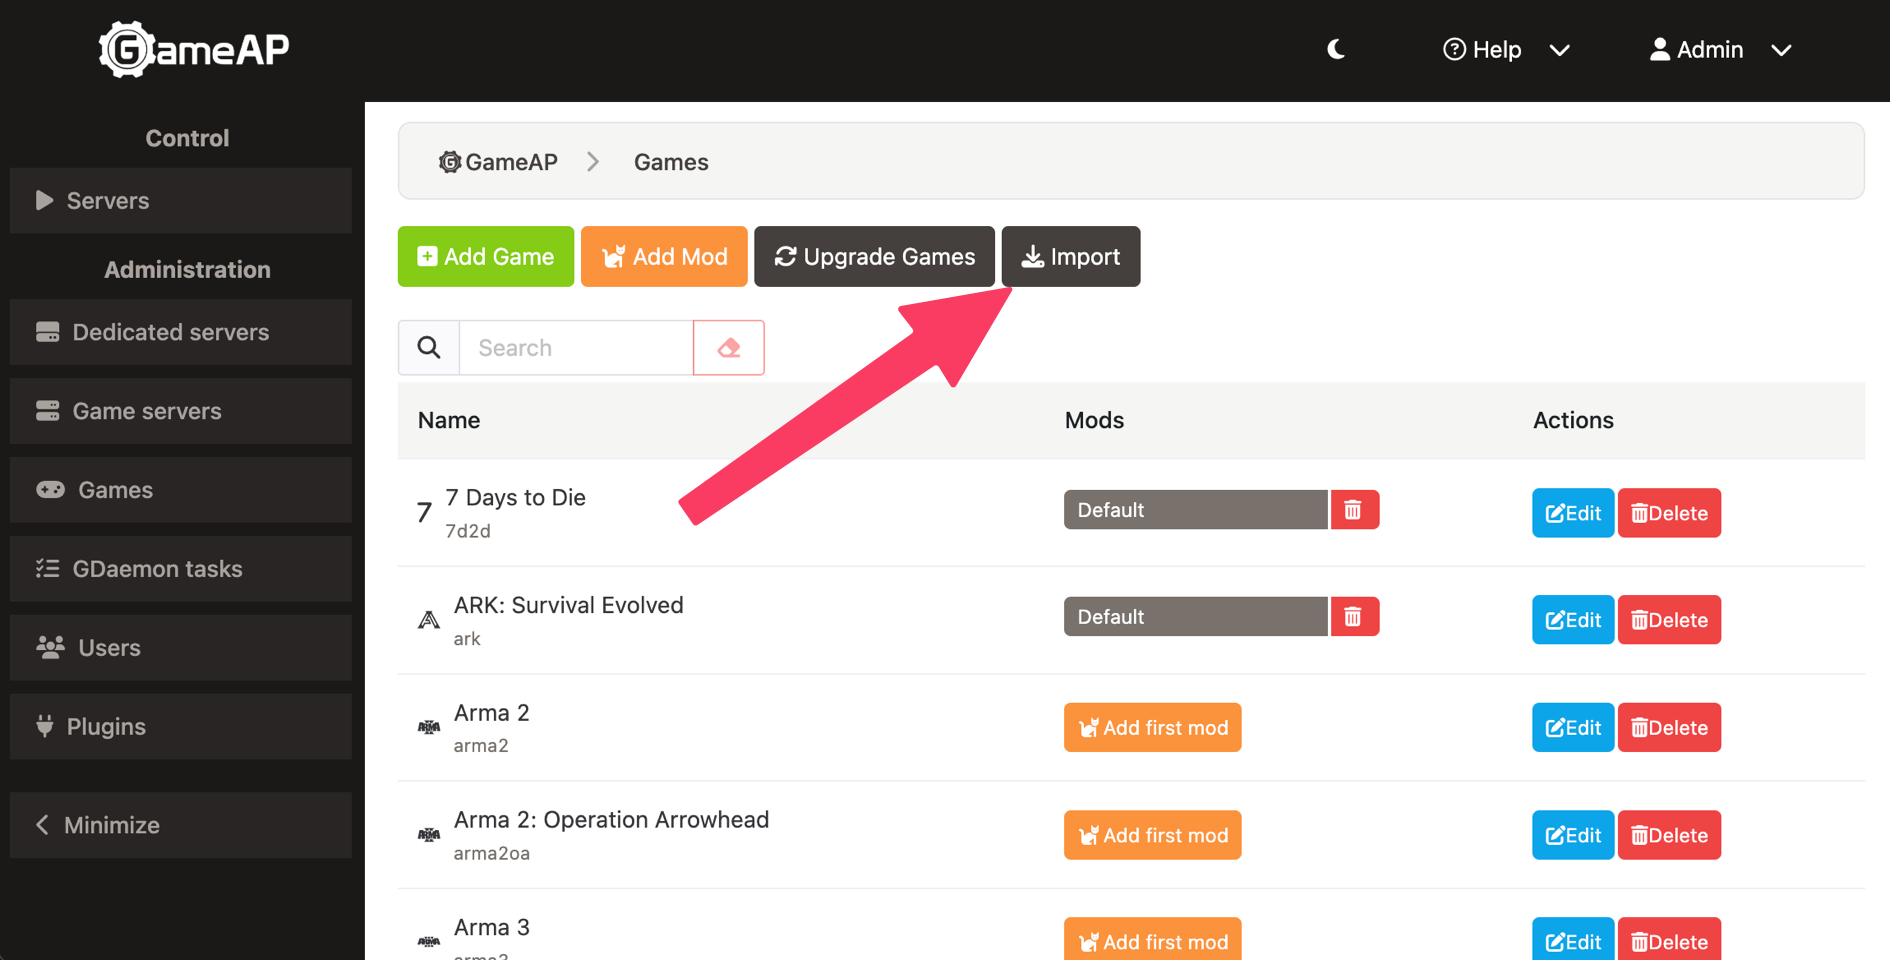
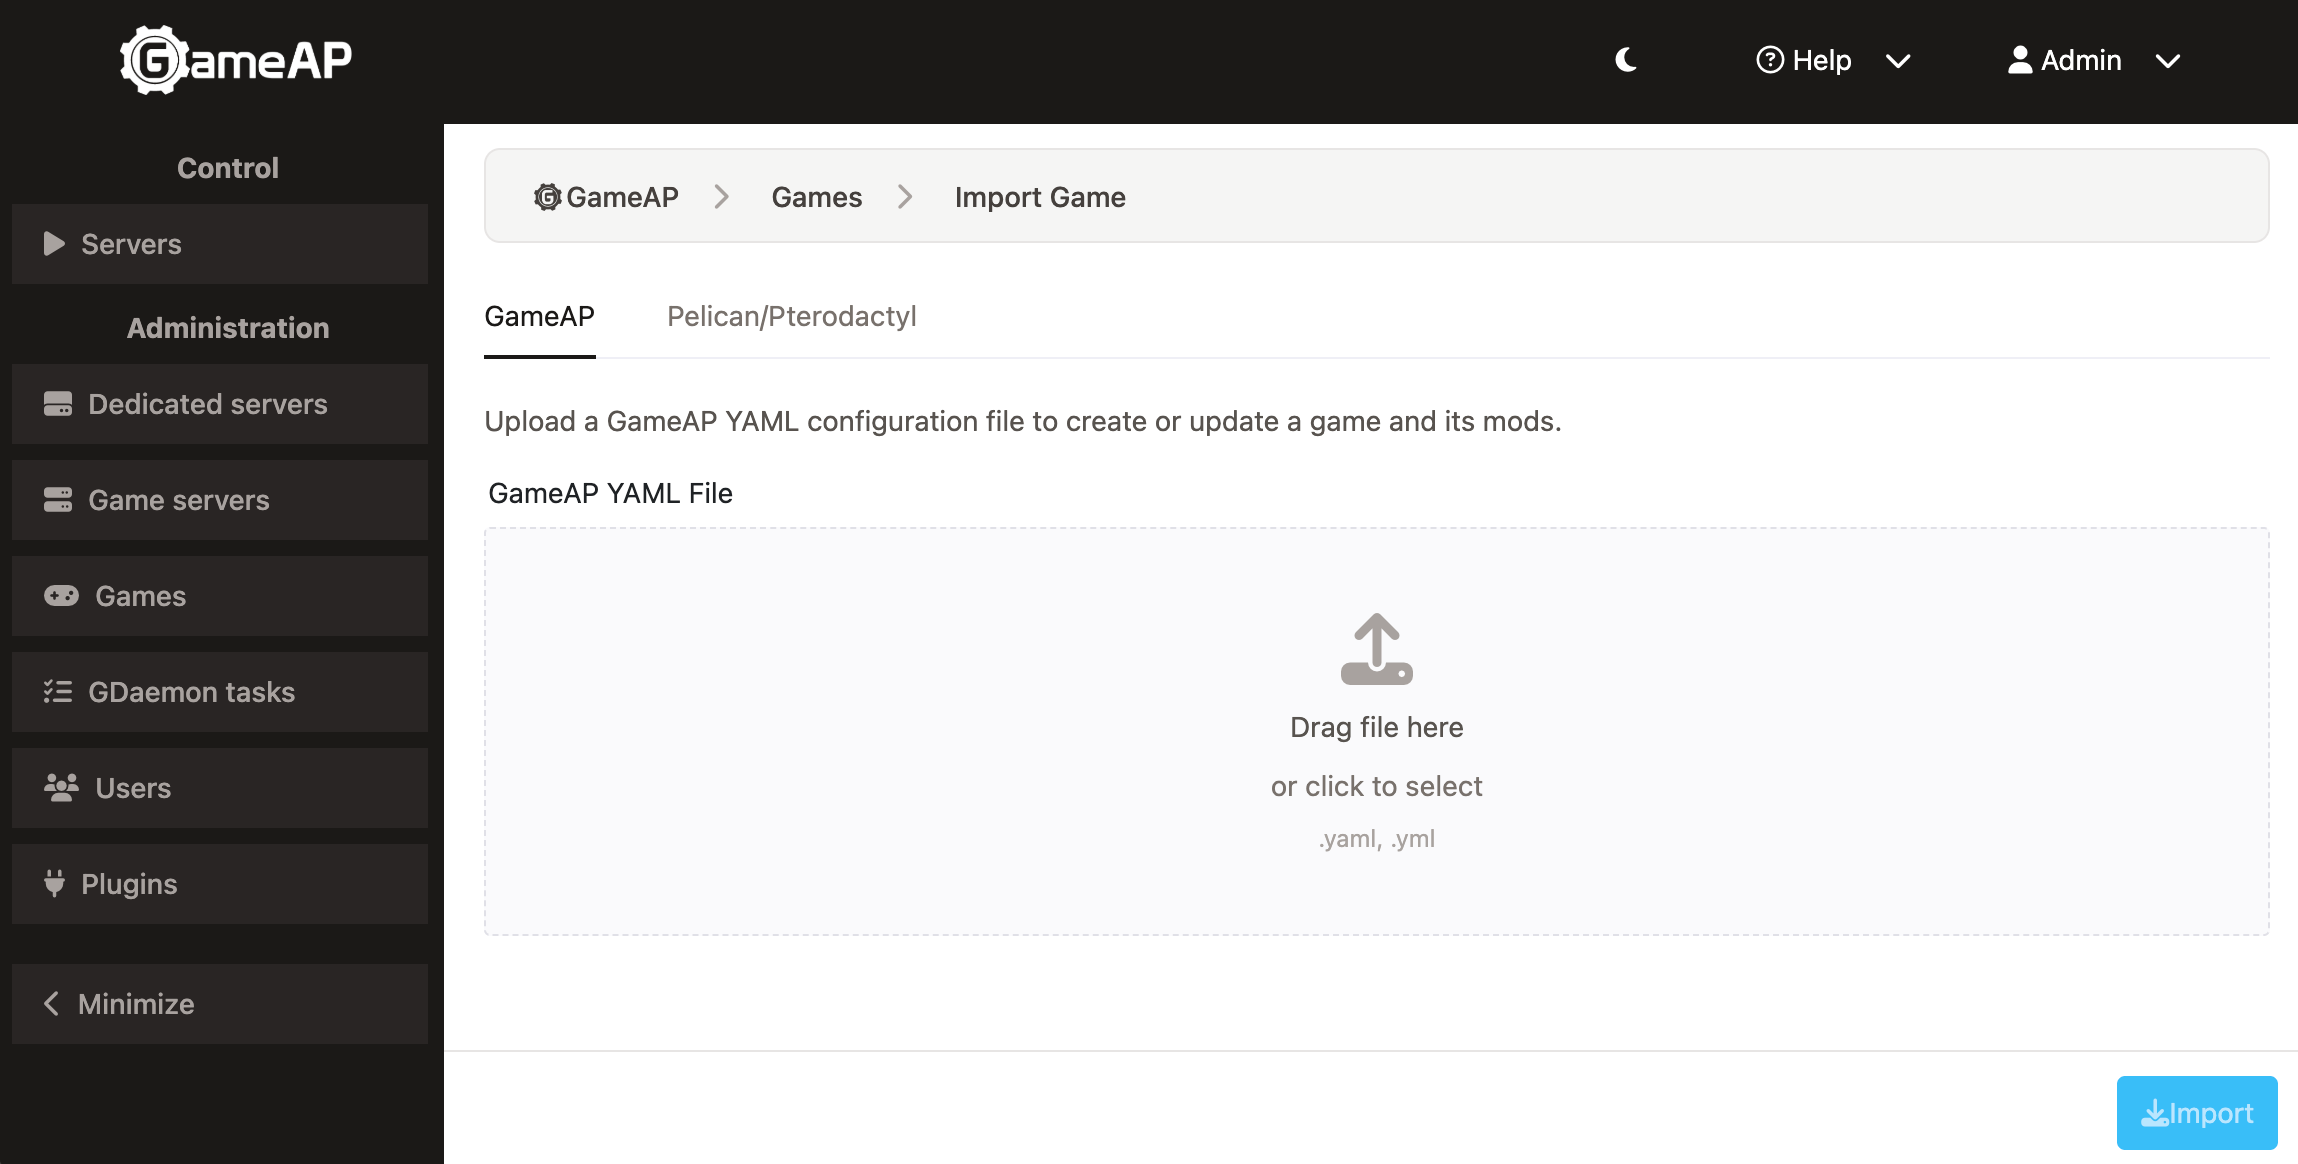
All of this lives on the Administration → Games page. The Import button opens the import page with two tabs: GameAP for the panel’s own format and Pelican/Pterodactyl for eggs from other panels.
Both tabs have a collapsible Override settings block. Name replaces the game name from the
file (Leave empty to use original), Code replaces the game code (Leave empty to generate
automatically). Via the API, both import endpoints take the same overrides as the name and
code query parameters. The code must be 2–16 characters matching ^[a-z0-9_-]+$, the name —
2–128 characters.
GameAP’s Own Format
The GameAP format carries the game in full: the game itself, all of its mods, variables with their complete definitions (type, options, validation rules, translations), run commands, and RCON commands. Every key of a variable definition is optional, so files written for older panels still import unchanged.
Export
On the Administration → Games page, open a game and click Export. The panel will
serve a <game-code>.gameap.yaml file.
Via the API:
GET /api/games/{code}/export
Import
Administration → Games → Import, on the GameAP tab upload the file and click Import. Before importing, the panel shows the game name, code, engine, and the number of mods found in the file.
Via the API:
POST /api/games/import/gameap
The import creates the game if it does not exist yet and updates the existing one if a game
with that code is already present. Mods are imported together with the game — after the upload
the panel reports how many were imported; the API response additionally lists them as
mods_created and mods_updated.
What happens to already-configured data:
- The game is matched by code, a mod — by name within that game.
- Matched records are overwritten with the values from the file: run commands, variables, RCON commands, repositories. The previous values are not kept.
- The exception is the metadata field: it is merged, not replaced.
- Mods that exist in the panel but are absent from the file are not deleted and stay as they were.
Importing over a configured game overwrites your edits. Before uploading the file, export the current game — this is the only way to get the previous settings back if the result is not what you wanted.
The file is validated before anything is written:
- request body up to 1 MB;
game.code— 2–16 characters matching^[a-z0-9_-]+$;- mod names within one file must be unique;
- variable definitions are checked the same way as when saving a mod via
PUT /api/game_mods/{id}.
The format version is given at the top of the file:
schema_version: "1.0"
The panel will not accept a file with a different format version. This field is also worth checking when a transfer fails.
Importing from Other Panels
Importing templates is supported from:
Administration → Games → Import, on the Pelican/Pterodactyl tab upload the egg
file and click Import. JSON (Pterodactyl PTDL_v2 and Pelican PLCN_v3) and YAML (PLCN_v3)
are accepted; the format is detected from the content.
Via the API:
POST /api/games/import/pelican-egg
Both panels share the same egg format, so Pterodactyl and Pelican files are uploaded the same way.
What the importer creates
- A game with the
pelicanengine. The code is generated from the egg name: lowercase, runs of characters other than Latin letters and digits become_, at most 16 characters. If fewer than two characters remain, the code becomesgm. Use Override settings to pick a code of your own. - A single mod named Default with the Linux run command only. Importing an egg that yields the same code again updates this game and mod; their metadata is merged with the existing one.
- The run command is rewritten to GameAP placeholders:
{{server.build.default.port}}and{{server.build.env.PORT}}become{port},{{server.build.default.ip}}and{{server.build.env.SERVER_IP}}become{ip}, any other{{VARIABLE}}or{{server.build.env.VARIABLE}}becomes{VARIABLE}. A command that contains shell operators (&&,||,;,|,&, redirects, command substitution) is wrapped in/bin/sh -c "…". - Egg variables become typed mod variables:
env_variableis the variable name,default_valuethe default,namethe label,descriptionthe description, and a variable that is notuser_editablebecomes an admin-only one. The Laravel rules are translated:integer→int,numeric→float,booleanandin:0,1→bool, otherin:lists →selectwith options,field_type: password→password;required,min,max,between, andregexbecome validation rules (for numeric typesmin/maxare value bounds, for the rest — length limits). - Mod metadata receives the keys the daemon’s Docker and Podman process managers read:
docker_image,docker_installation_image,docker_installation_script,docker_installation_entrypoint,docker_installation_user: root,docker_workdir: /home/container. Two more keys —docker_startup_doneandpelican_egg(the raw egg) — are stored for reference only; the daemon does not read them. The raw egg is also kept in the game metadata.
Limitations
- A variable without
env_variable, or with a name longer than 32 characters, is dropped with a warning in the panel log. - A
regexrule that Go’s RE2 engine cannot compile (PCRE lookarounds, backreferences) is dropped. - If the translated variable turns out to be invalid, its type, options, and rules are discarded; only the name, default, label, admin flag, and description remain.
- No Windows run command is produced.
- The rest of the egg —
config.files,config.stop,config.logs,features,file_denylist, additional Docker images, start commands other thanDefault— is kept raw inpelican_eggbut is not translated into panel settings.
Upgrading Games from the GameAP Catalog
The panel ships with a catalog of ready-made game and mod settings. To pull changes from it, click Upgrade Games on the Administration → Games page.
Via the API:
POST /api/games/upgrade
Your changes may be overwritten. If you have edited run commands or variables of the standard games, save them before upgrading — for example, by exporting the game to a file.
What the upgrade does with existing data:
- The game record is replaced with the catalog entry as a whole (matched by code): name, engine, Steam App IDs, repositories, metadata. A field the catalog entry does not carry is blanked — this includes local repositories.
- The mod is merged (matched by name within the game): only the fields the catalog mod carries overwrite the local ones — remote repositories, run commands, RCON commands. Local repositories and mod metadata are never touched.
- Variables are merged by name, Fast RCON commands — by the command string. A catalog entry replaces the local one with the same name; variables and commands you added yourself are kept. Catalog entries come first, so the layout of the settings page follows the catalog.
- A catalog mod whose variables or Fast RCON commands fail validation is skipped with a warning in the panel log; the rest of the upgrade continues.
- A mod is not updated if the panel finds several mods with the same name for the game — such cases are skipped to avoid overwriting the wrong one.
The catalog addresses are set with the GAMES_CDN_URLS variable; they are tried in order until
one responds. See the config.env Reference.
Pelican and Pterodactyl Features
Imported eggs run only under the Docker or Podman process managers.
The game created by the import has no repositories or Steam App ID: the files are installed by the
egg’s installation script inside a container, using the docker_installation_image and
docker_installation_script keys from the mod metadata. Under any other process manager the
installation fails with the error could not determine the rules for installing the game.
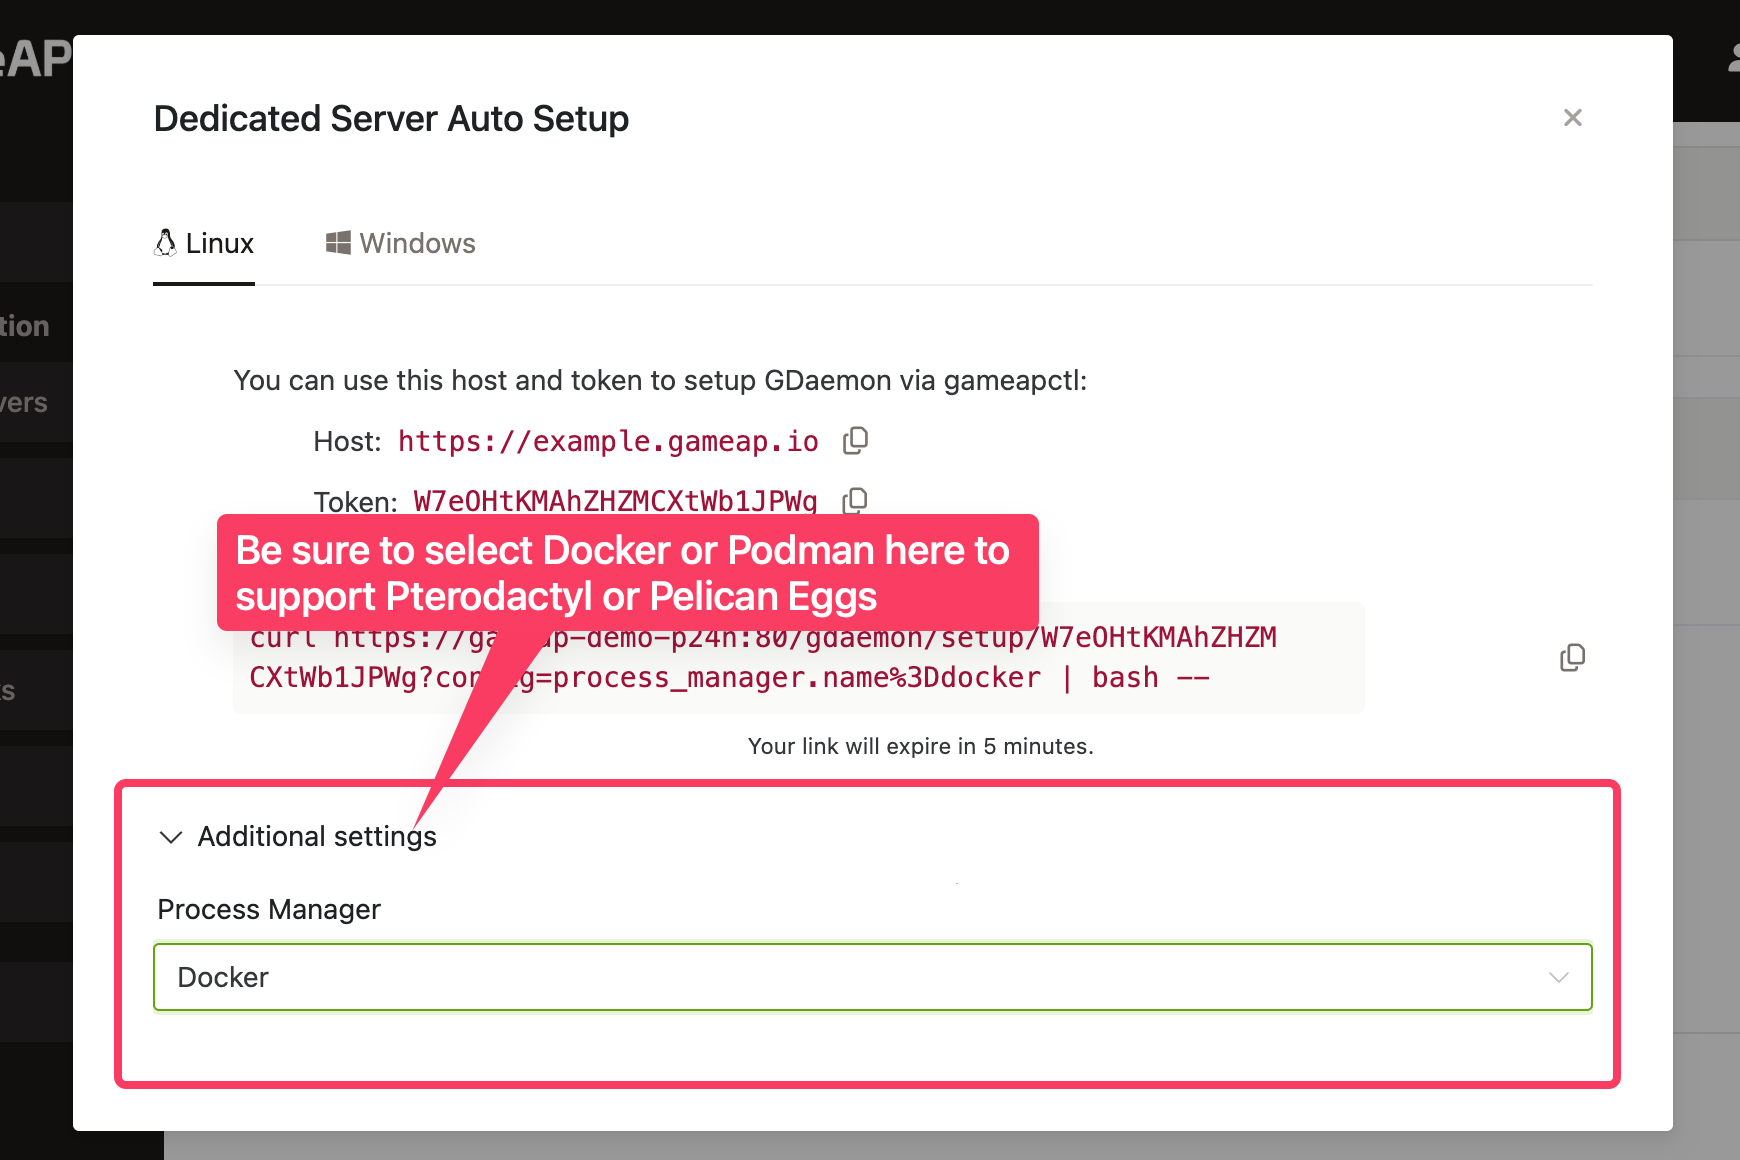
Configure GameAP Daemon to use one of these process managers. When adding a new node, expand Additional settings and choose the manager in the Process Manager field.